How to process Directship Order using the Mobile Application?
This article is exclusively focused on helping our Directship sellers understand the process and the new User Interface for the mobile application that can be used to process the customer orders. The application is compatible with Android versions and can be downloaded using this APK link.
You can also download the application directly from the Seller Lab by following these simple steps
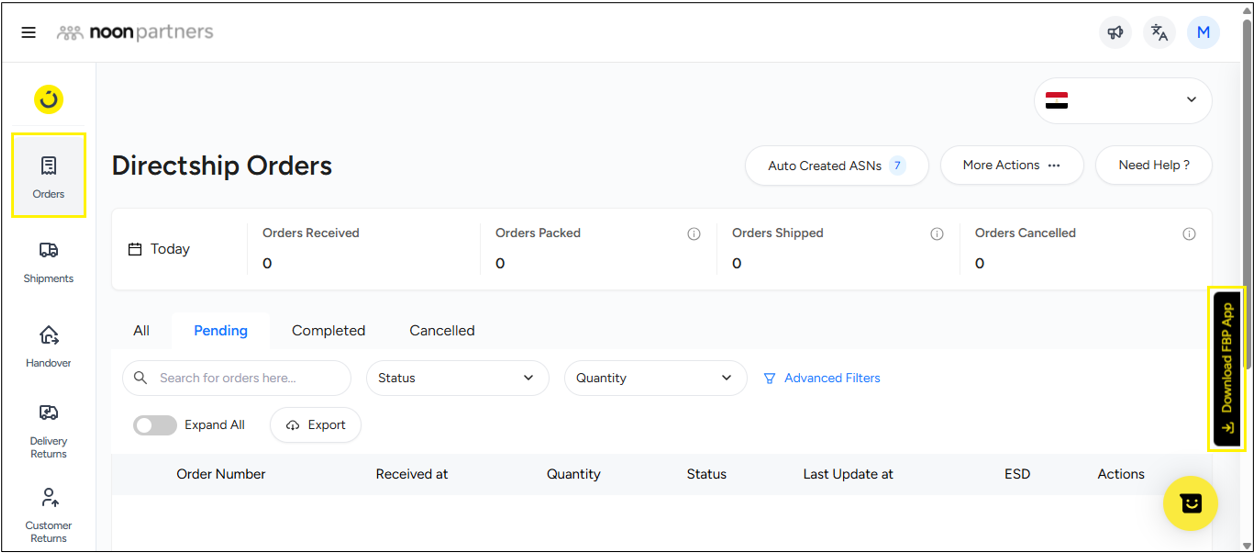
- Go to Fulfilled by Partner and then click on Orders, then click on Download FBP App.
- A pop-up appears showing the new DirectShip V2 interface. Click on Next.
- Now you can scan the QR code to download the application in an android phone or tablet. iOS support will be coming soon.

Note:
1. This order processing flow is applicable for sellers in the UAE who got onboarded on Directship after 1st October 2025. For sellers who got onboarded before 1st October 2025, please refer to this article.
2. This order processing flow is applicable for sellers in the KSA who got onboarded on Directship after 22nd October 2025. For sellers who got onboarded before 22nd October 2025, please refer to this article.
3. This order processing flow is applicable for sellers in EGY who got onboarded on Directship after 3rd November 2025. For sellers who got onboarded before 3rd November 2025, please refer to this article.
We will cover all the important functionalities of the application and how it will be beneficial.
Let's start by understanding each aspect in detail.
How to log in to the application?
In order to be able to log in to the application, you need to add the user as a project user on the seller lab. Refer to this article to understand how to add the project user
- Once the application is downloaded and installed, click on Login and provide your login email. In the next step, you will get an OTP on your email ID. Provide the OTP you received in the email to complete the login. You can click on Project ID to continue.
How to Navigate the application?
- You will see the warehouse linked to your store. Click on the warehouse to proceed further. The next step shows you the home page of the application. You can see the pending order and the pending shipment. On further scrolling down, you will see the number of orders in each stage of order processing as given below.
- Received: New order received from the customer.
- Packed: The Packed status indicates the number of orders you have packed that are ready to be shipped.
- Shipped: This indicates the number of orders shipped or handed over to Noon Logistics.
- Cancelled: Orders that are marked as cancelled or marked as lost.
On further scrolling down, you will notice a section showing all the announcements of recent updates. The last section indicates the order with the least processing time left.
- Clicking on the ellipsis button on the left side will open up the menu section where you can see the option to see the order, shipment, and handover section. You will also have the option to see the FAQs, about the functionalities of the application and its process. You can also check the warehouse information and change the language preference. If you click on the announcement on the right side, you can check the recent announcements.
- You will see the option to navigate the app at the bottom. Click on the Order option. This will show all the orders that are pending, completed, or canceled.
How to process the Order?
- Click on the Pending tab to see the orders that are pending. Then select the order. You will see the customer details and the details of the order. At the bottom, you will see the timeline with the important timestamps. Click on Pack Item button. On the next step, click on Create Shipment.
- Then enter the AWB number manually or scan the AWB using a 2D barcode scanner. Then click on Create Shipment. The shipment will be created, and you will see the option to go to the next order for processing.
How to check the shipments you created and mark as damaged?
- Click on the Shipment option at the bottom. This will show you all the shipments that are ready to be handed over, completed, or marked as canceled. Click on Ready to check the ready shipments. When you click on the shipment, it opens the shipment details. You will also see the option to mark the shipment as lost and confirm your selection.
Creating and checking the handover request.
- To create the handover request, click on the Handover option at the bottom. You can click on Give option to create a handover request. Then click on Create Handover. Add the number of shipments you are handing over and click on Create Handover. The handover is created, and you can click on the QR code. The QR code for the handover is generated. Provide this to the driver who comes to collect the shipment.
- You also have an option to click on the Handover History button to see the handovers that were created before.
Creating and checking the receiving request.
- To start receiving the shipment, you need to click on the Handover option. In the next step, click on the QR button. This will open a QR code which need to be shown to the delivery agent who came to deliver the return shipments.
- Then click on Start Receiving. Scan the QR code or enter the request number manually in the application. It shows the number of shipments in the request. Click on Scan shipment to Receive.
- All the shipments accepted will be visible. Once all the shipments are accepted, click on Finish Receiving. Then click on Confirm Finish Receiving to confirm your selection.
Marking the shipment as damaged.
- In the receiving request option, you can click on the three dots next to the shipment number. Click on the Mark Shipment Damaged option. Click on the camera option and upload a maximum of 5 photos of the item. Once it is done, click on Confirm Shipment Damaged. This marks the shipment as damaged.
- You can also mark the item as damaged by clicking on the three dots on the top. Click on Report Shipment Damaged. Scan the AWB that you want to mark as damaged and upload some photos of the item. Then click on Confirm Shipment Damage. The shipment will be marked as damaged.
That’s it
Got more questions?
Contact us at seller@noon.com.
Or raise a ticket from the Support Center.
Related Articles
How to fulfill Directship Order using Mobile Application?
Sellers can fulfill their Directship Order either by using the mobile application or the web version based on the platform selected in the warehouse settings. You can learn about the web-based order fulfillment from this article and also learn about ...What is DirectShip?
DirectShip is one of the FBP (Fulfilled by Partner) models that sellers can choose based on certain criteria to manage their business operations. DirectShip Overview DirectShip is ideal for sellers who sell items that aren't bulky and that don’t ...DirectShip Express - FAQs
This article addresses frequently asked questions about DirectShip Express, an expedited version of the DirectShip model on Noon. Products under this model are marked with an express tag, indicating a faster fulfillment process. Note: Throughout this ...Fulfillment modes in Directship
Packing the orders to create the shipment for handover is a very crucial part of the Directship process. Depending on your warehouse size, you might have a small warehouse with only one or two packers, or you might have a large warehouse with a team ...How to process Directship Order using the Seller Lab?
Order fulfillment and processing are critical elements for our Directship sellers. In our commitment to enhancing efficiency, we provide sellers with two options for fulfilling orders: either through the app, which you can understand using this ...